It’s almost Halloween, and I’m sharing the cutest little ghost that I packed in Zoë’s lunchbox last week. Because you gotta look boo-tiful, even if it’s spooky season, right? 
Come take a bite of this Cute Ghost Bento!
Face-to-face school is finally back on, so that means I’m also back to packing lunches for Zoë. I missed making character bentos the past two years (hello, pandemic and online classes!), so I’ve been making more bentos for her lately. To get her into the spooky spirit, I made this hauntingly cute surprise in her Yumbox.
How I Made the Cute Ghost Rice:
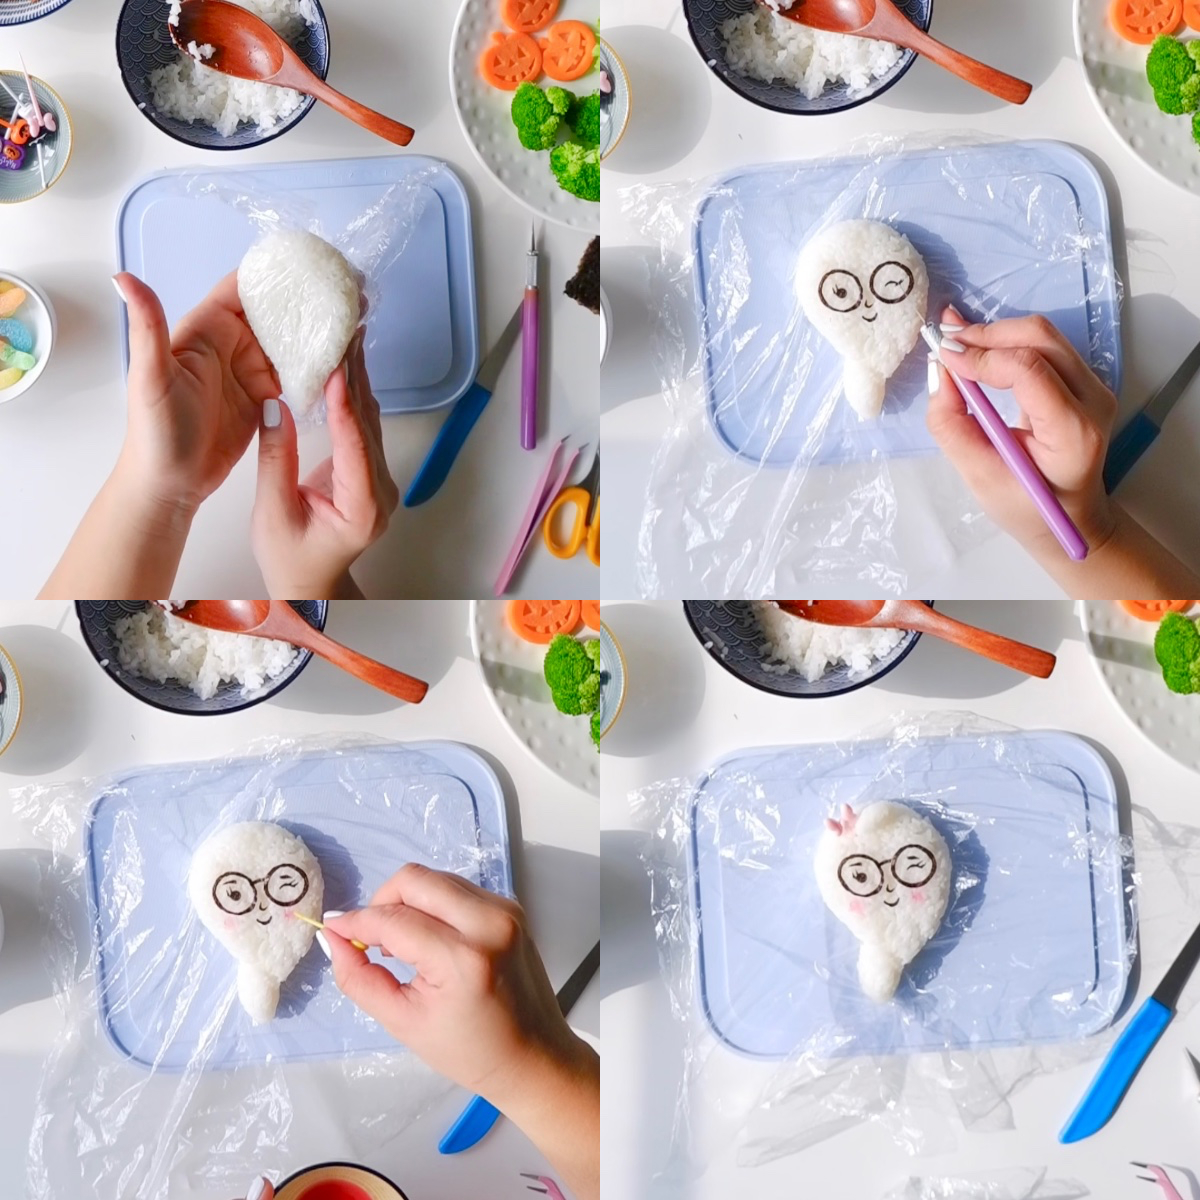
Step 1: Shape the Rice
To start off, I scooped some cooked white rice and shaped it into a little ghost. I used cling wrap to prevent the rice from sticking to my fingers. Once the rice is inside the cling wrap, it’s pretty easy to mold and shape. Kind of like molding play dough, really.
Step 2: Add the Nori Details
I used nori (roasted seaweed) for the face details. Using my handy tiny scissors, I cut out the shapes one by one. This usually takes the longest, so a little patience is always needed. I then assembled everything on the rice, using bento tweezers or a craft knife.
Step 3: Add Blush and Hair Bow
To give the ghost rice a flushed and finished look, I added some blush by dabbing on some beetroot juice on the cheeks, then inserted a bow food pick on top of its head. The cutest!
Done and ready to assemble!
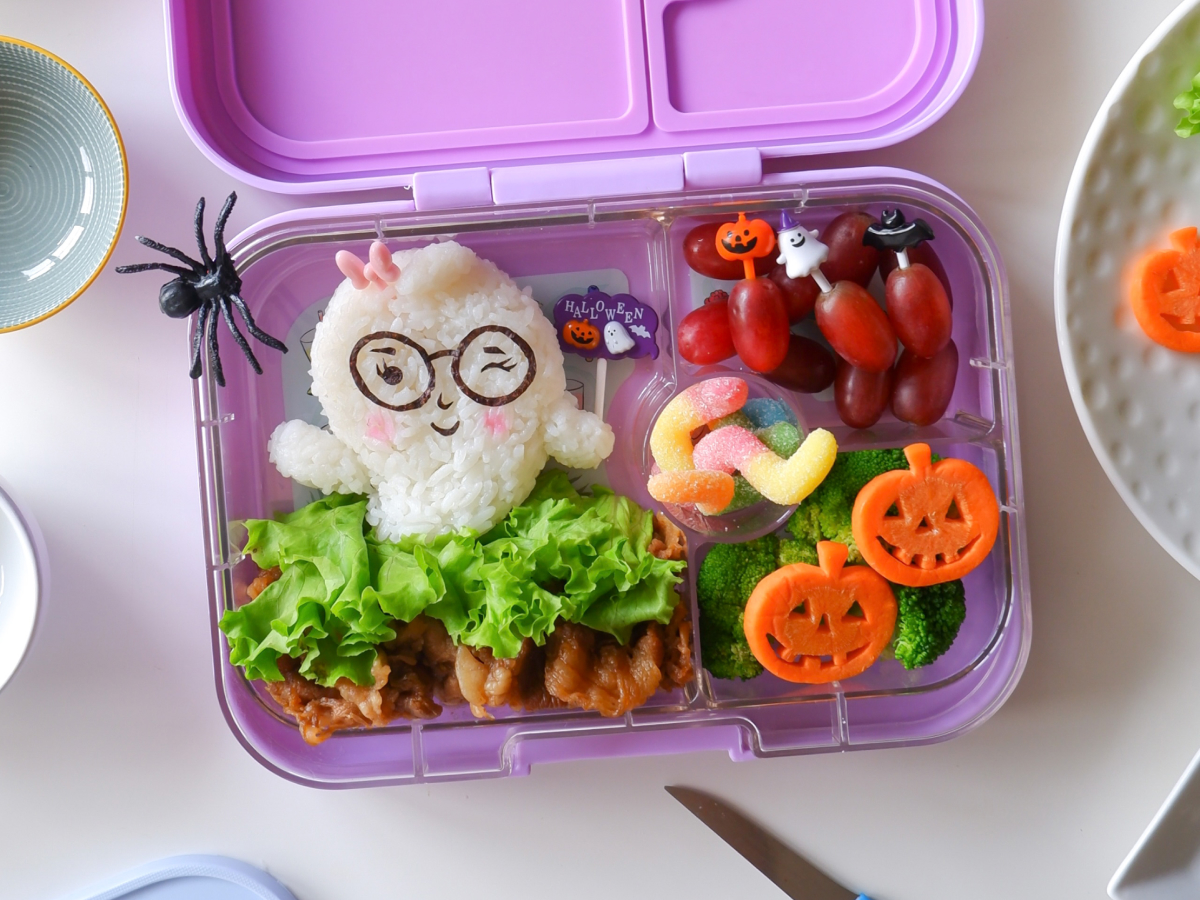
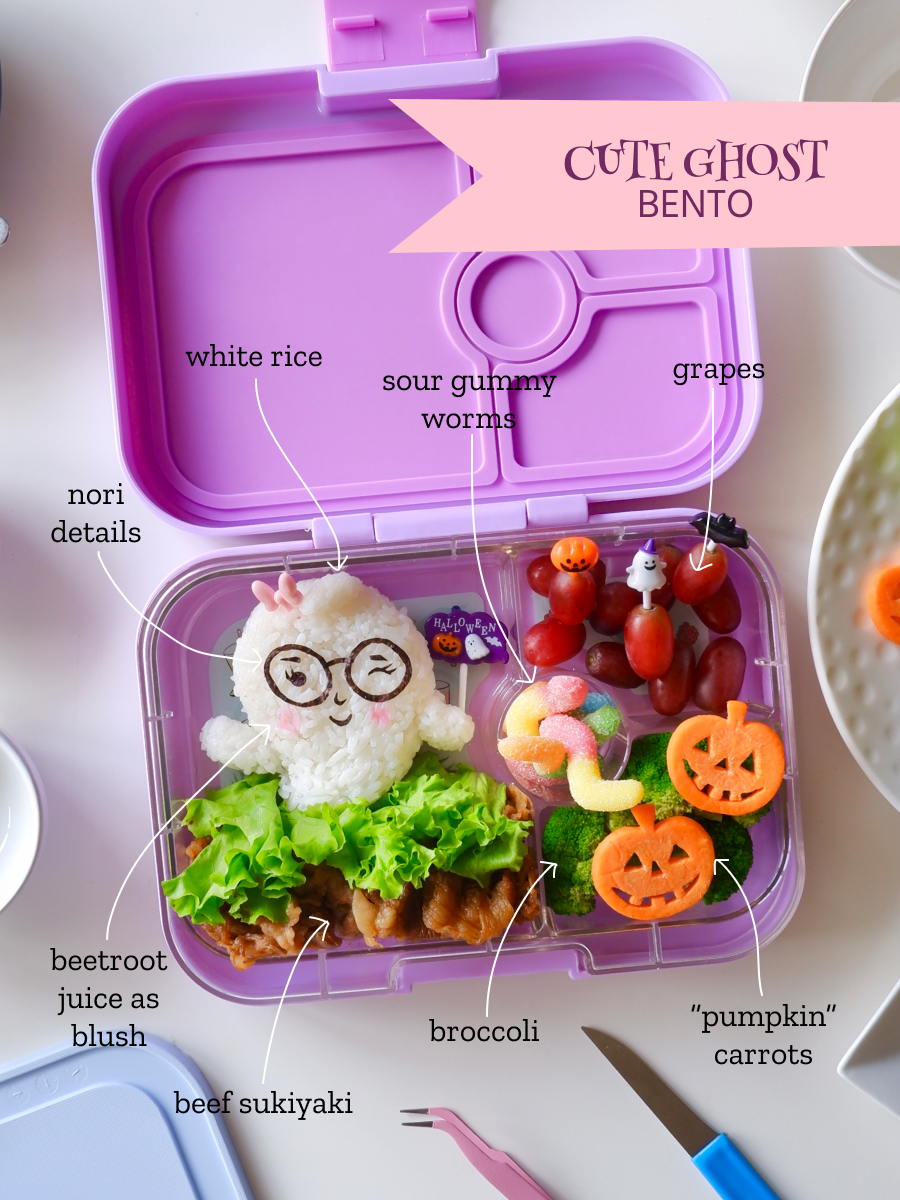
To complete the look, I gave the ghost some arms and a little Halloween banner food pick.
I packed the cute ghost rice on a bed of lettuce and a serving of Zoë’s favorite beef sukiyaki. For the sides I added steamed broccoli, “pumpkin” carrots (which I carved by hand), some grapes, and a couple of sour gummy worms.
Yum! What a spooktacular treat!
I made a quick Instagram Reel making this bento. Check it out here.
For more of my food art and bento creations, check out #foodartbyannings on Instagram.
]]>
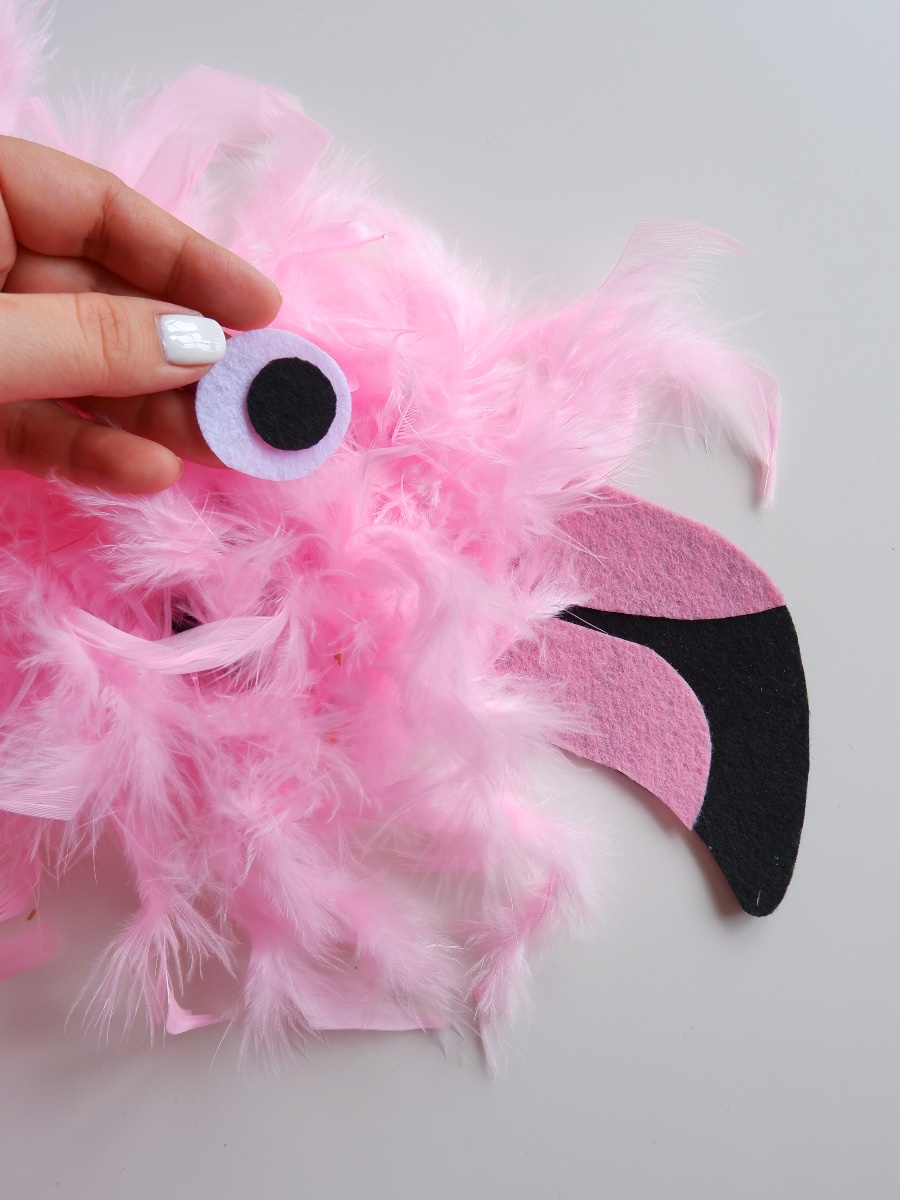

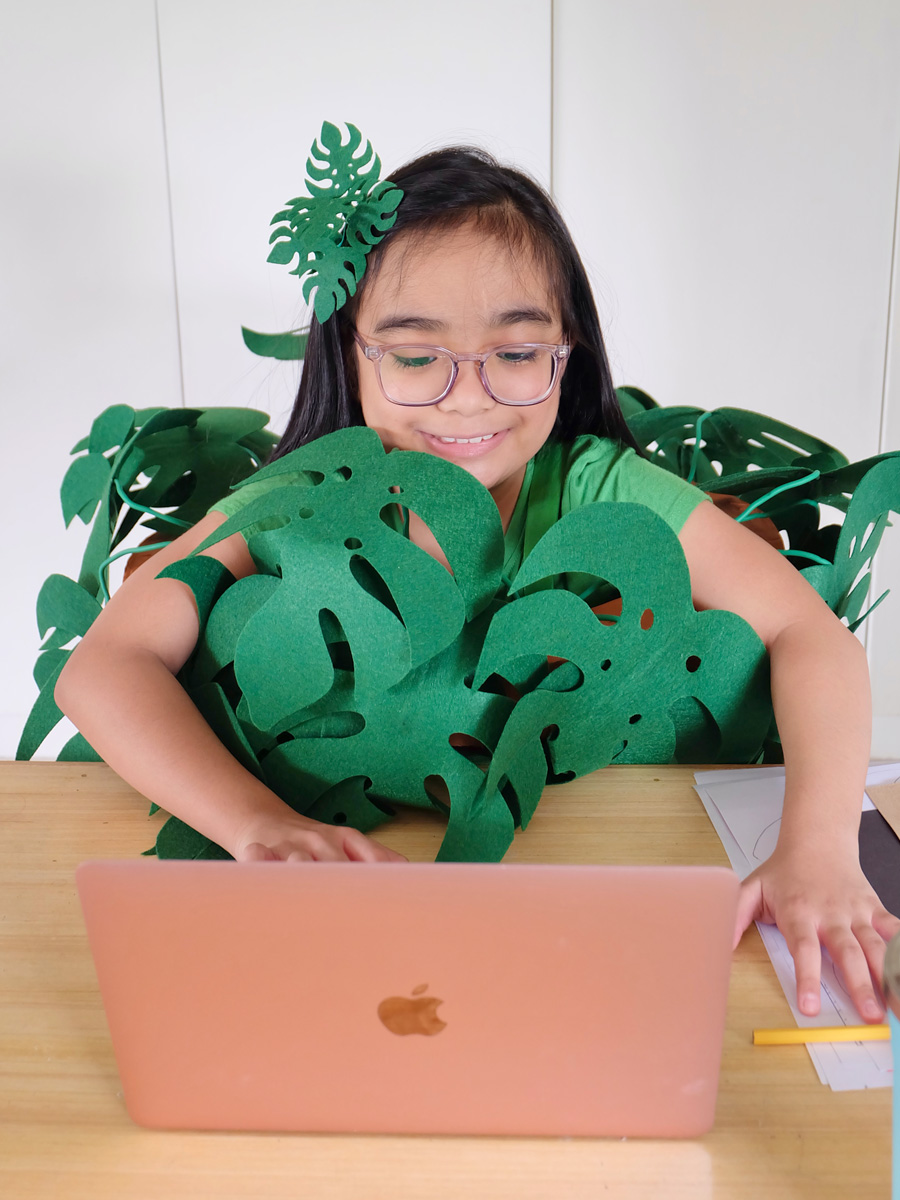
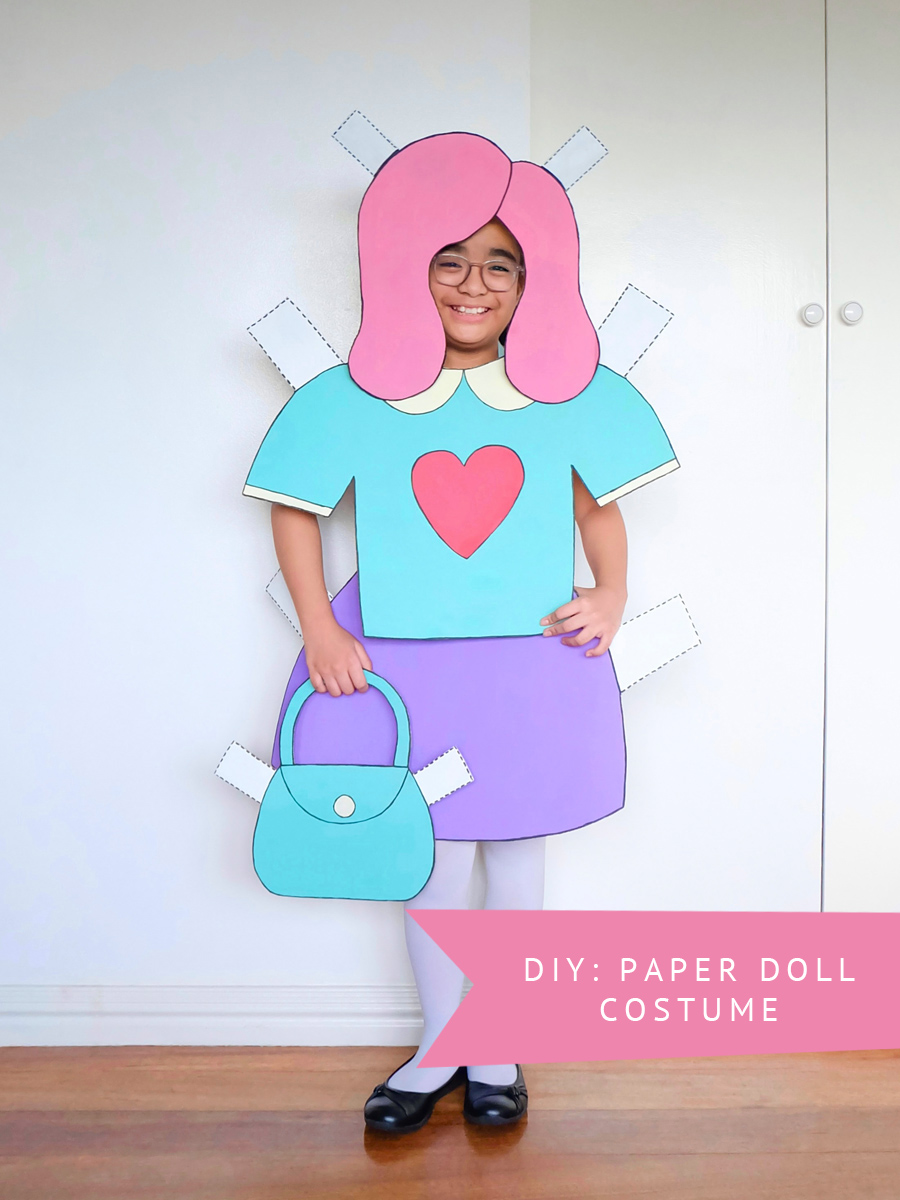 This paper doll costume is inspired by Zoë’s very own paper doll creations.
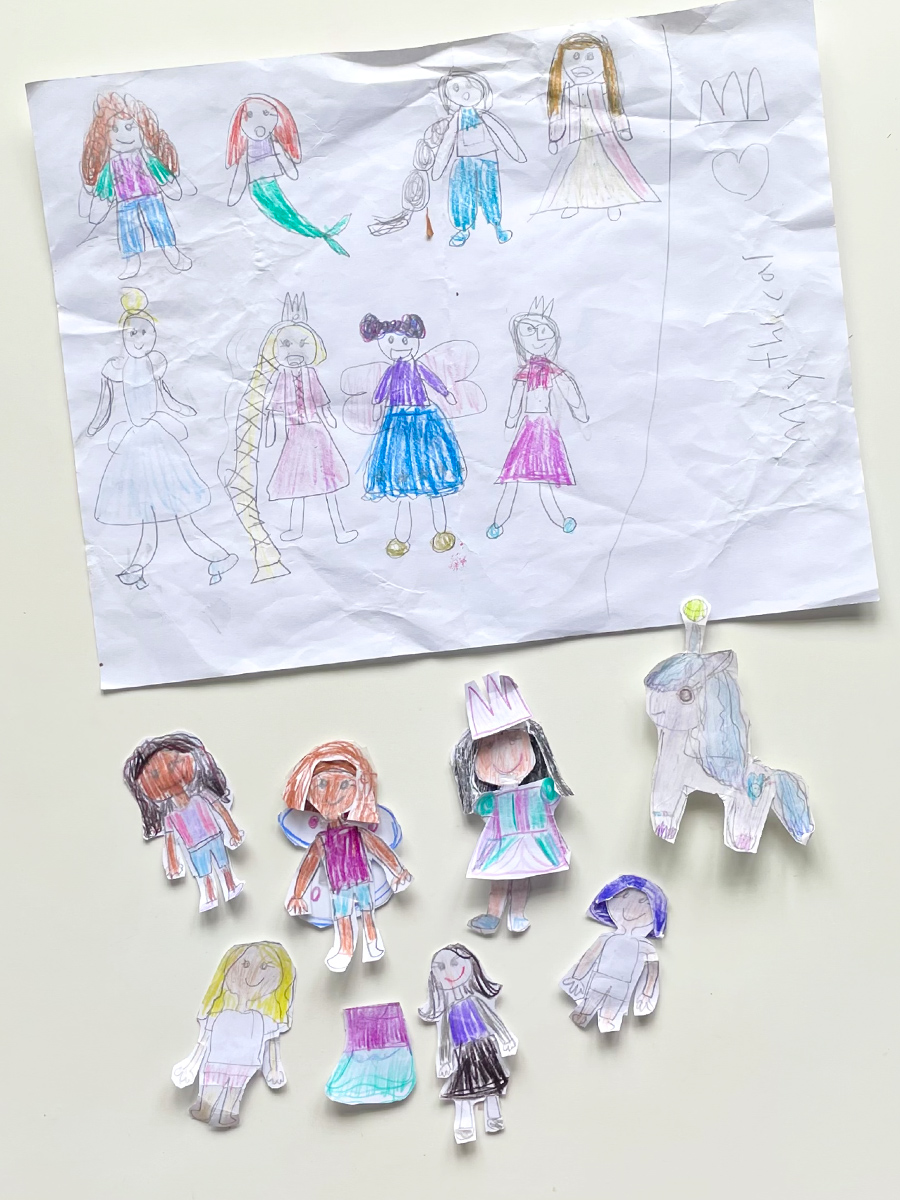 Zoë loves making paper dolls. She draws, colors, and styles them up, then narrates stories of adventure with them. The ones pictured above are just a few that she’s made over the years. I figured it was time to finally turn her into one of her creations, so this year’s paper doll costume was definitely the right fit!
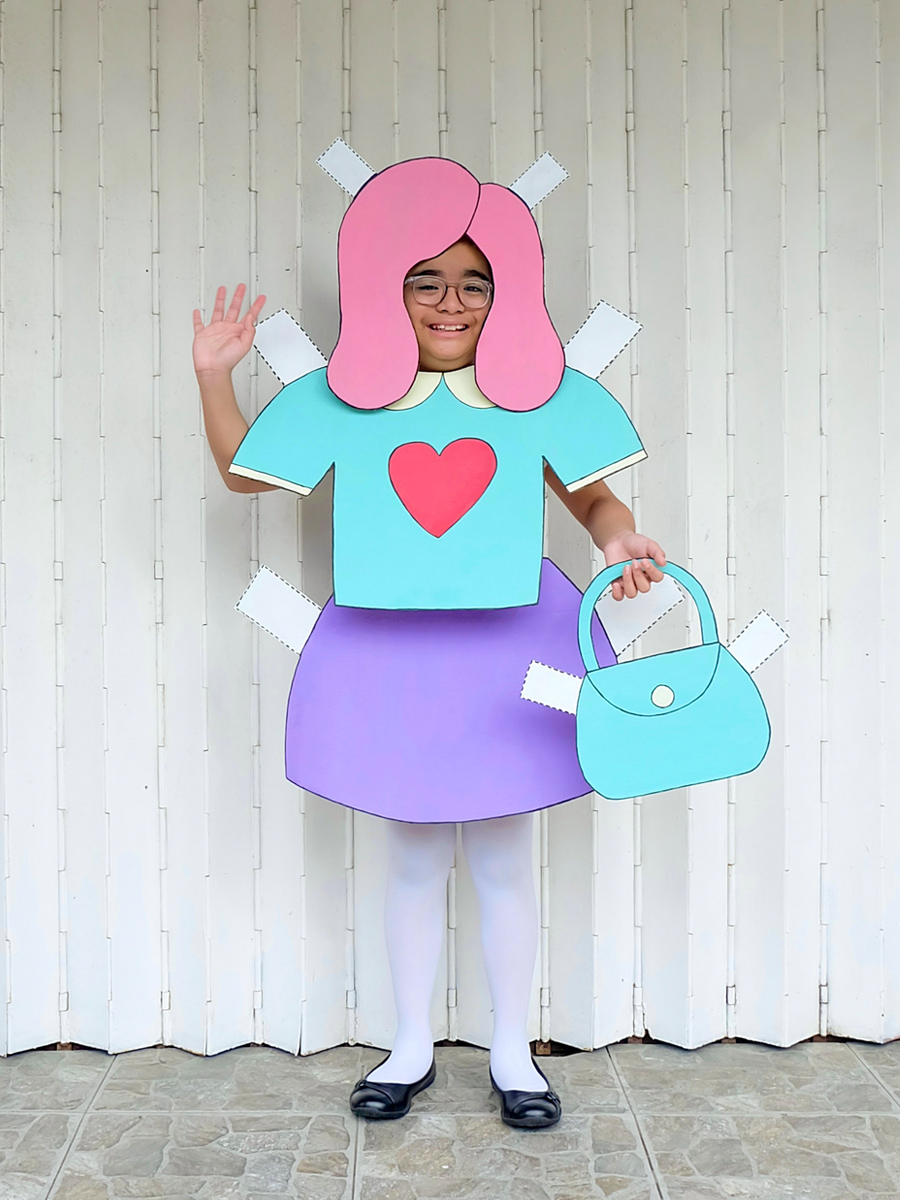
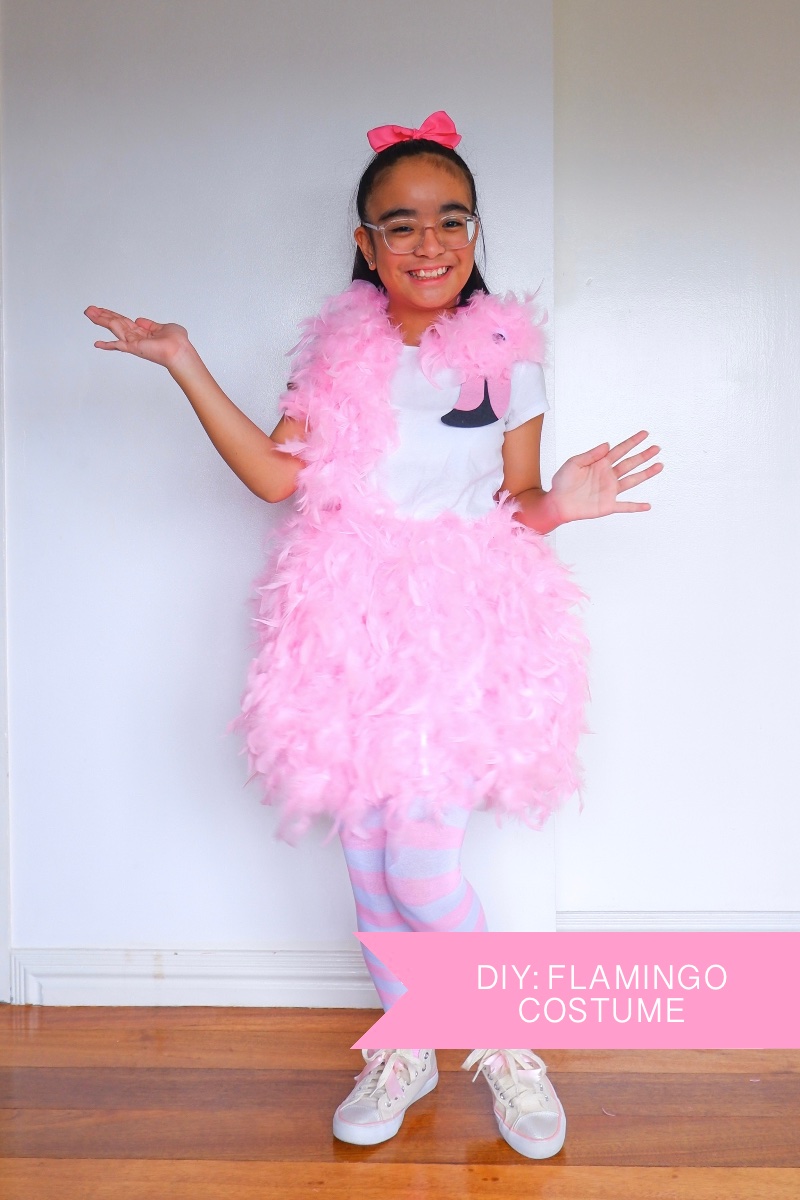
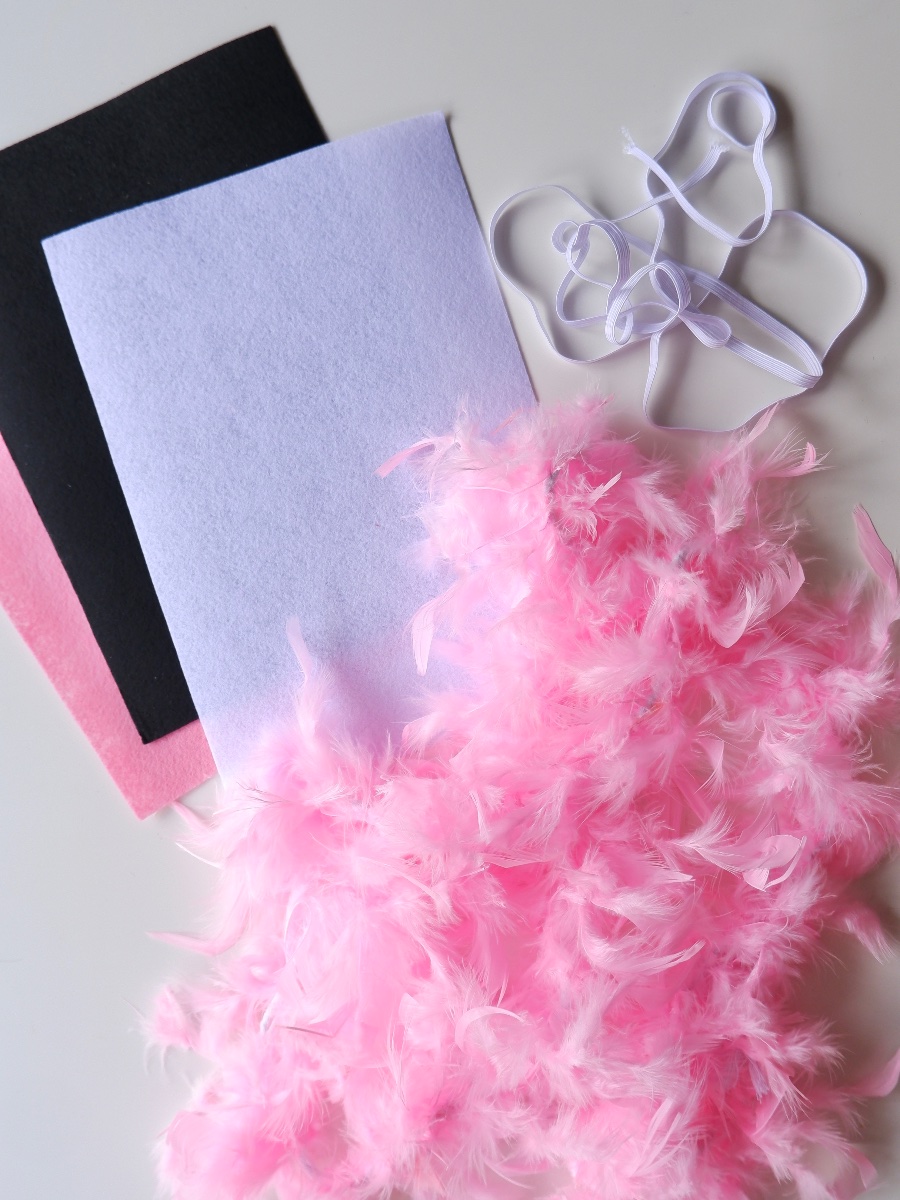
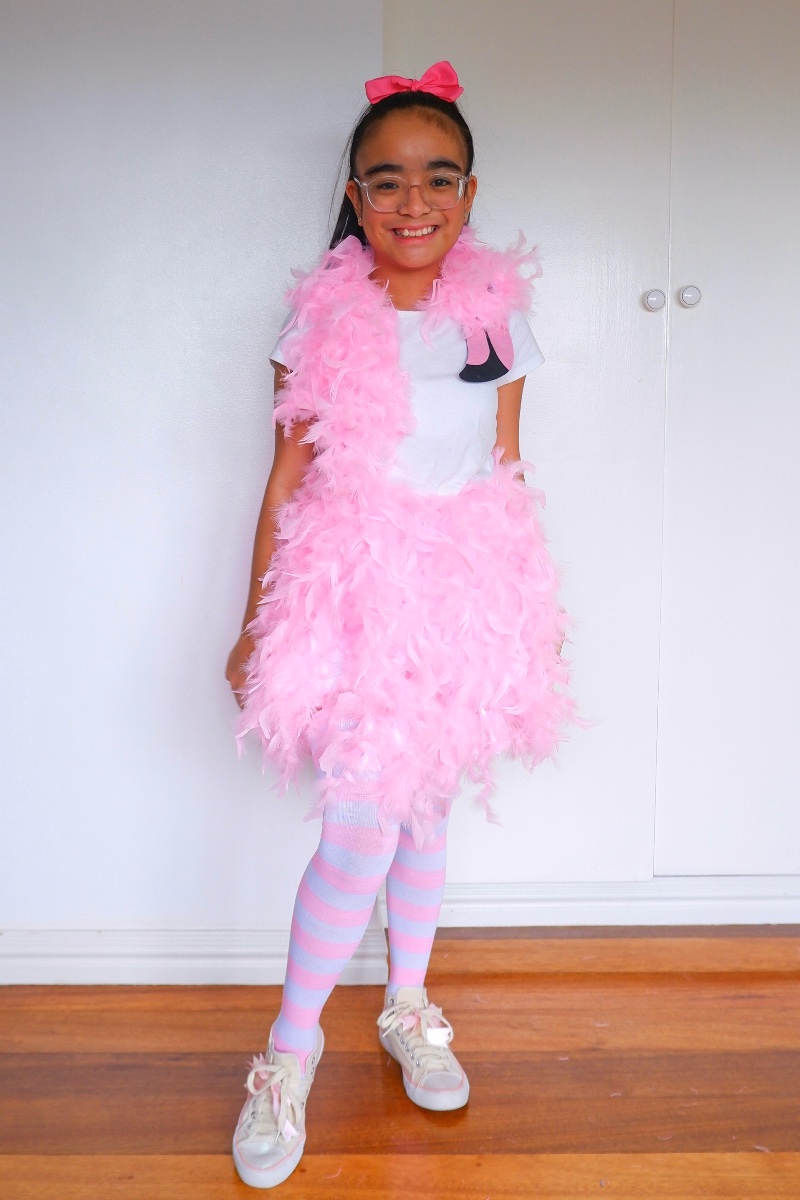
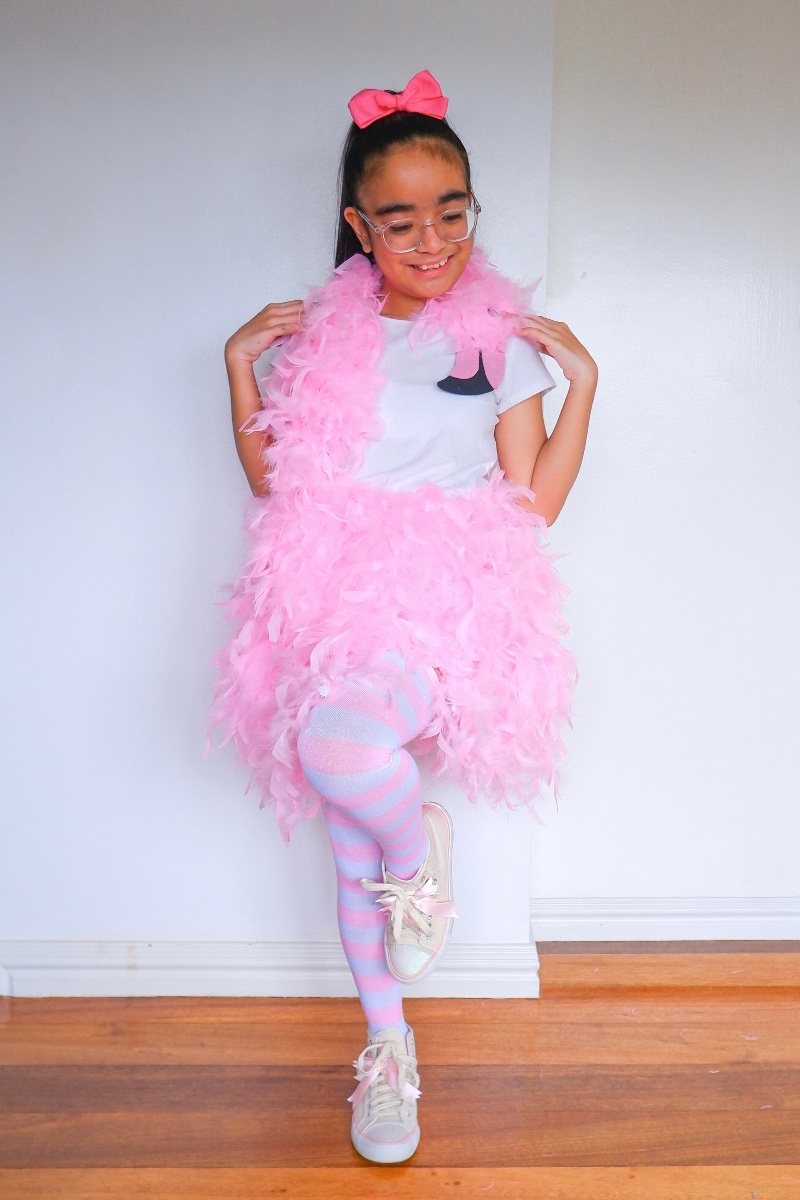
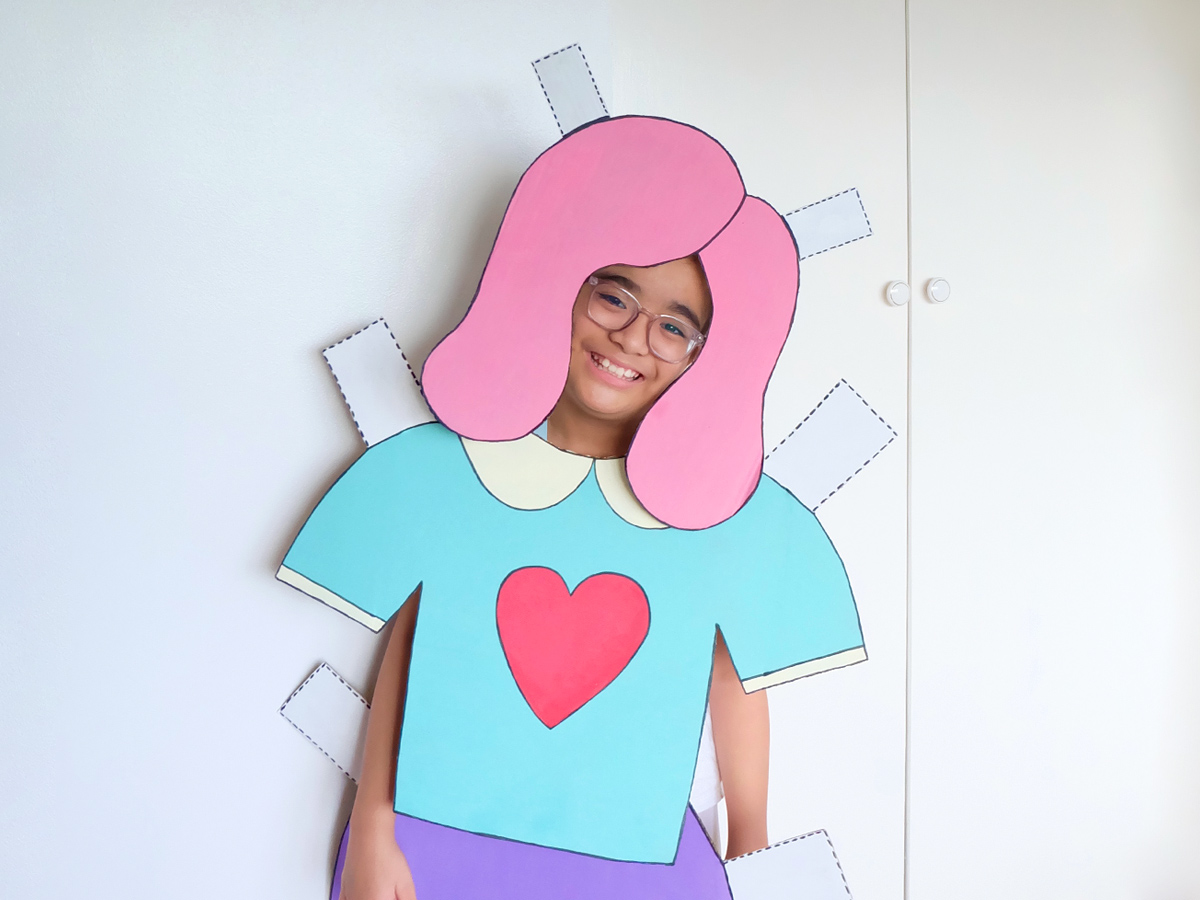
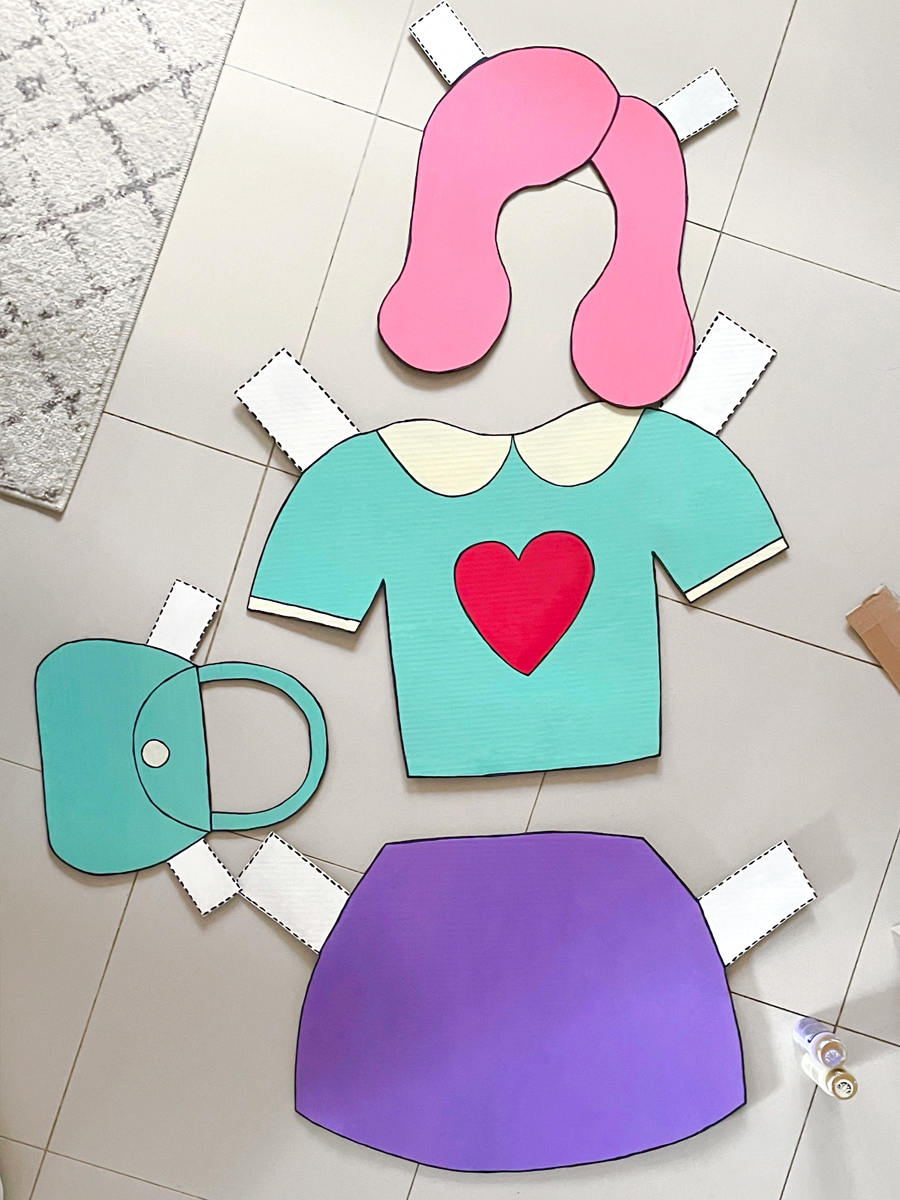 Constructed using minimal materials (an old Ikea cardboard box, an old headband, ribbon, and paint), this paper doll costume is probably the easiest DIY I’ve made. I completed everything in less than two days. This four-piece ensemble was a pretty simple craft of drawing, cutting, and painting. All Zoë asked for was to use her favorite colors, add a heart on the shirt, and give her bright pink hair. Cute, colorful, and girly, just the way she wanted it!
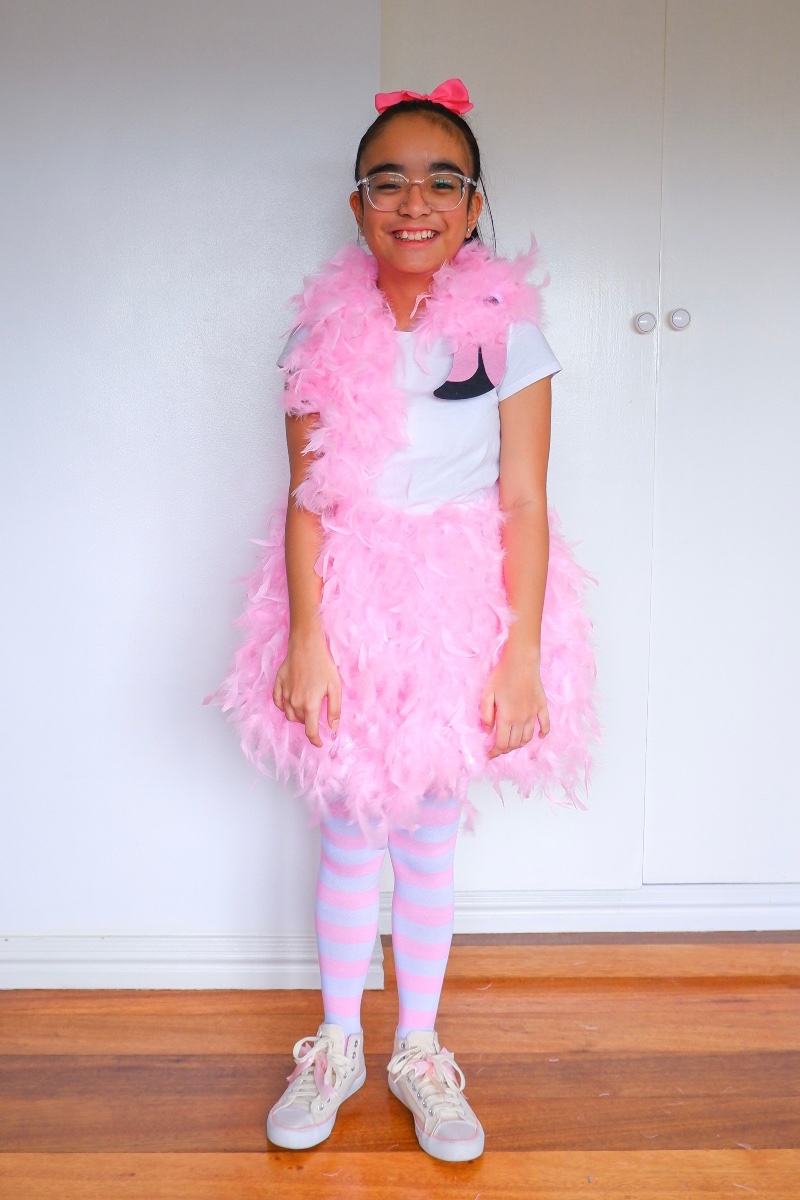
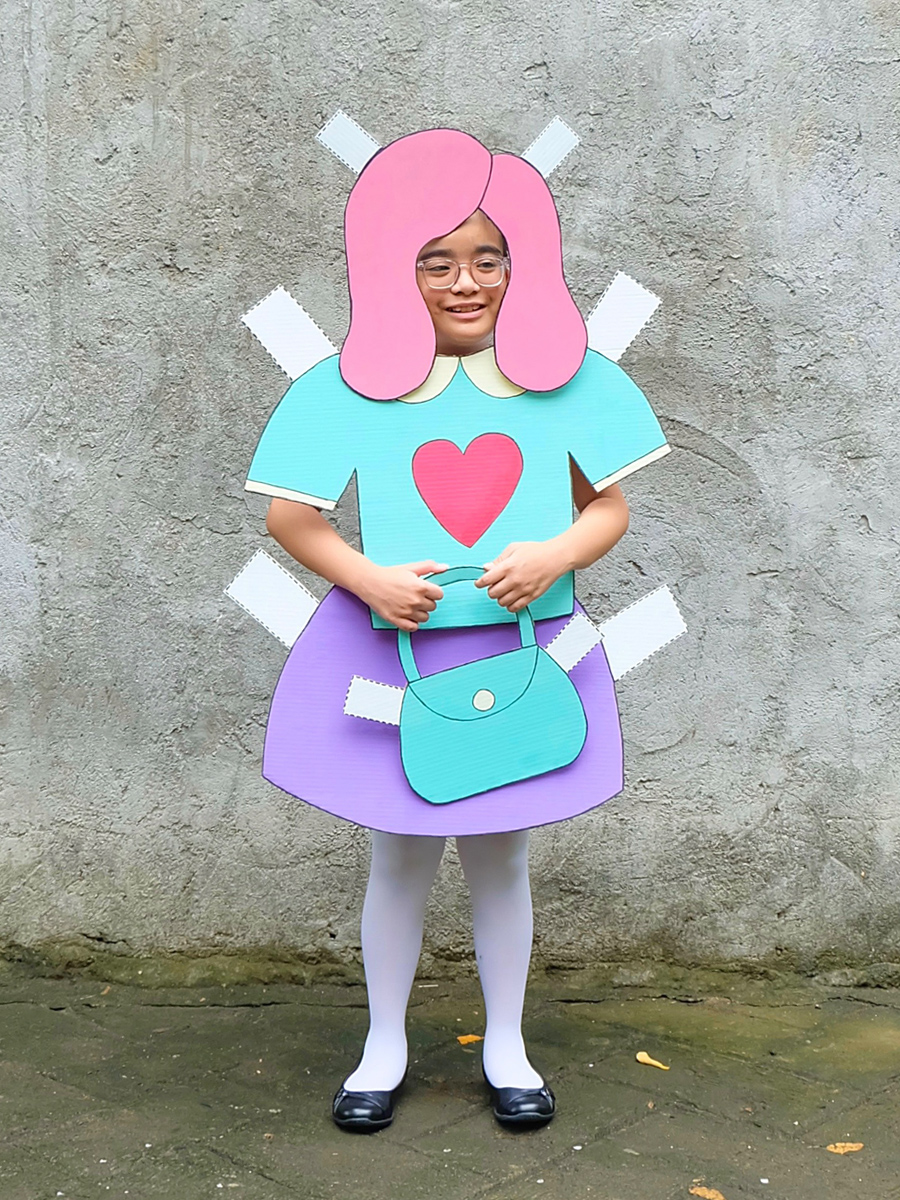
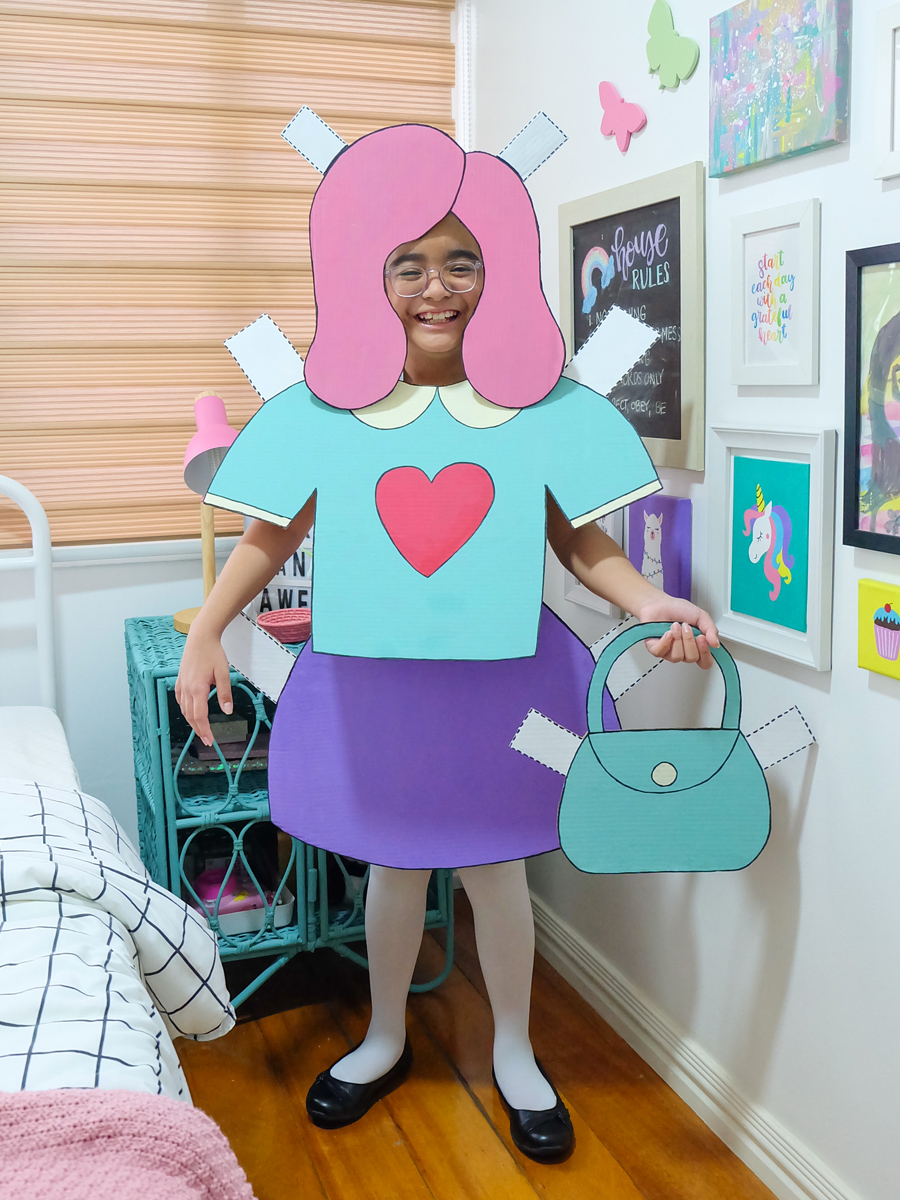 We completed the look with white tights and black shoes. Très chic! All ready and dressed to kill!
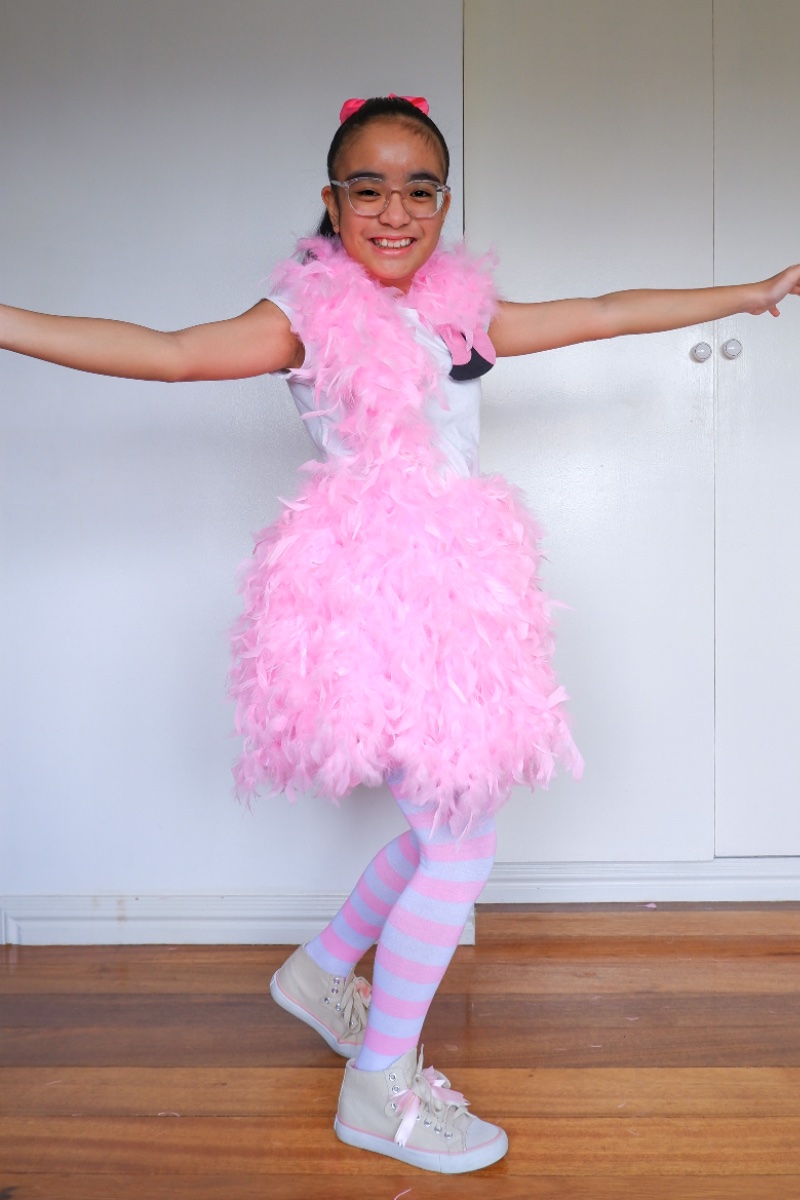

 Check out our other DIY costumes:
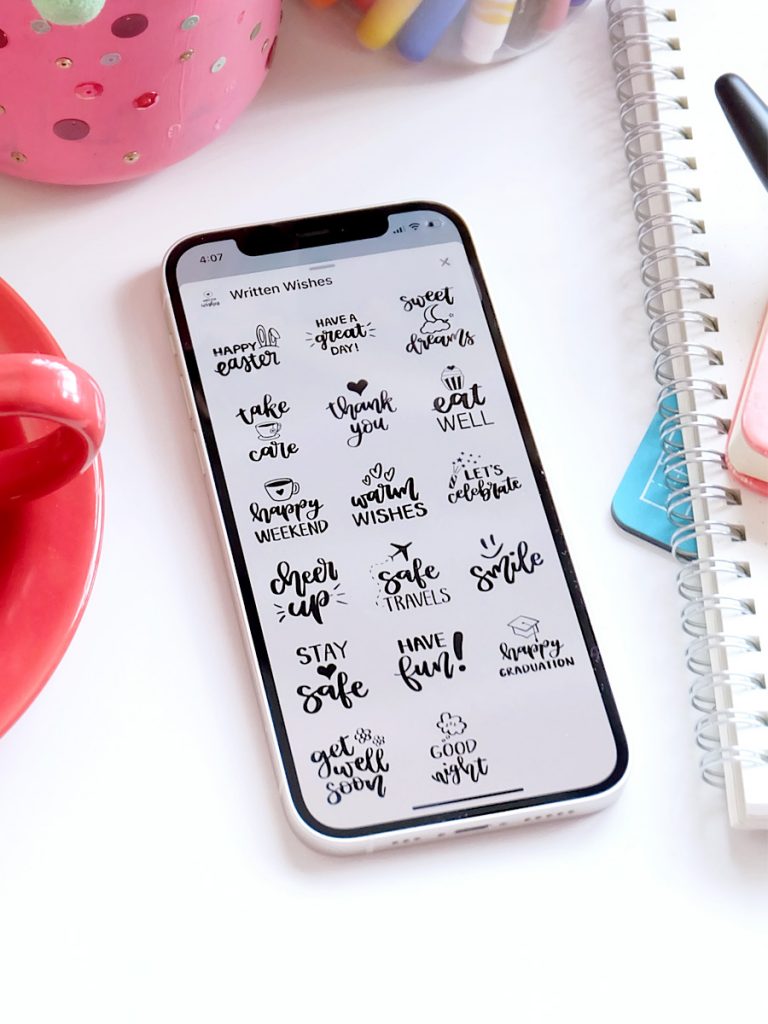


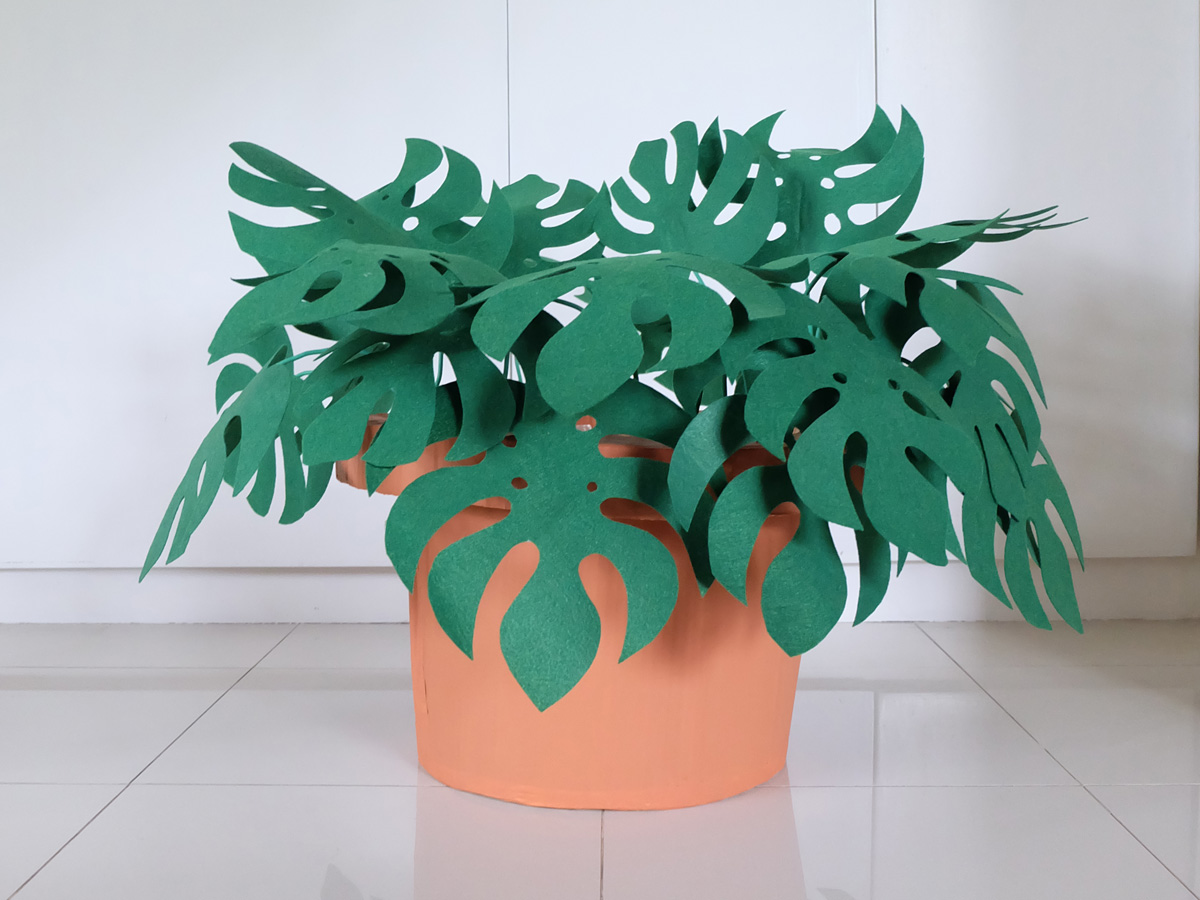 Once all the leaves were attached to their wire stems, I taped them one by one to the inner wall of the pot. The stems were flexible enough to be folded and bent, so I adjusted each leaf at different heights and pointed them to different directions. The result? A very lush-looking pot of monstera, indeed! Imagine how expensive this pot would be if it were a real monstera. Haha!
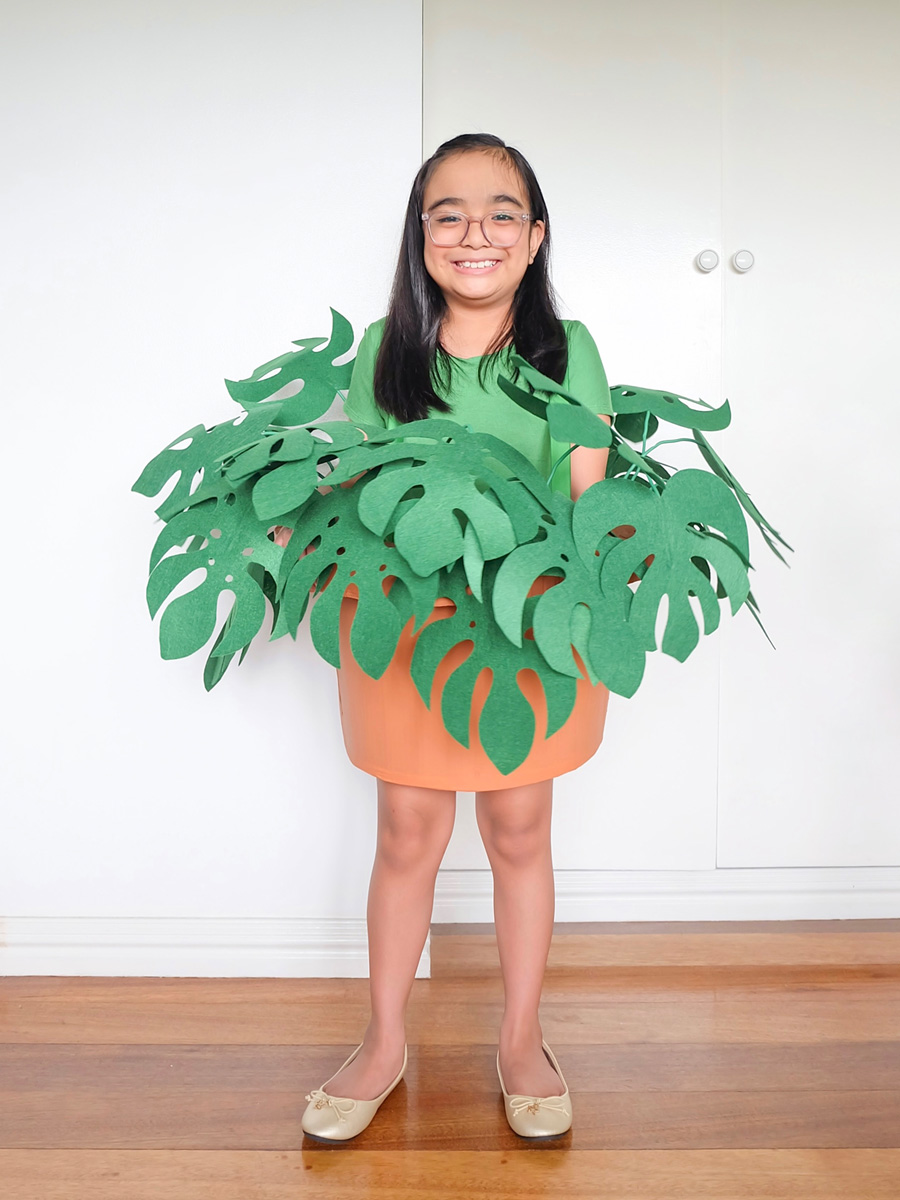

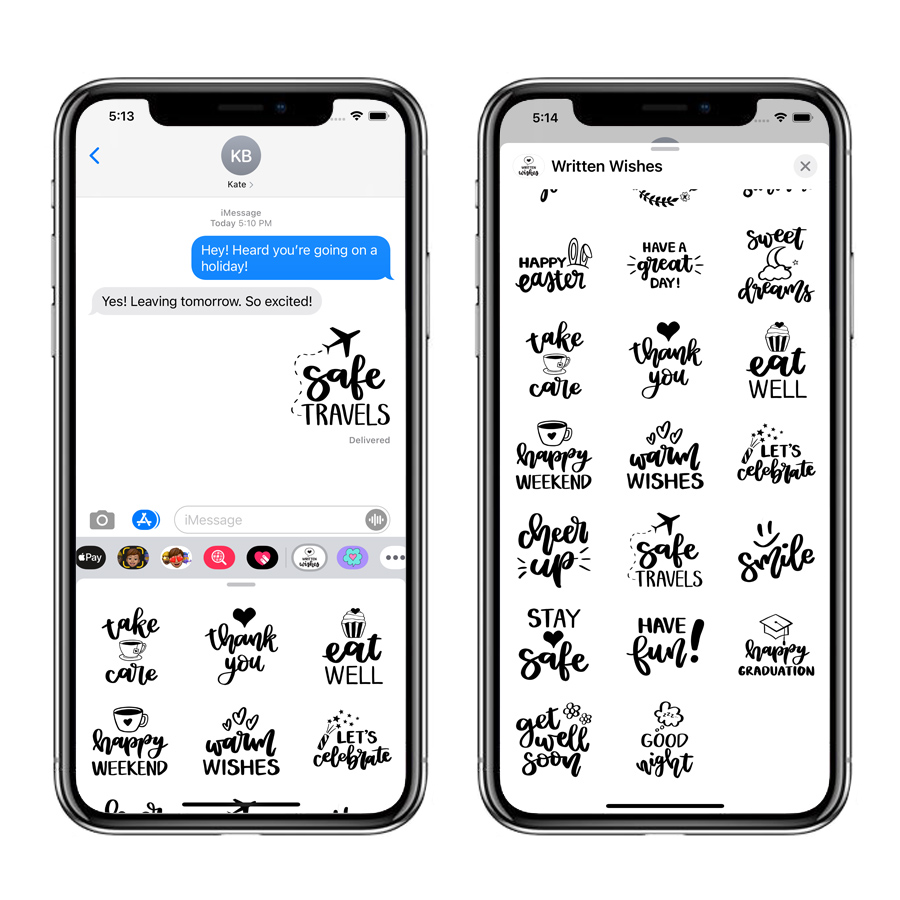
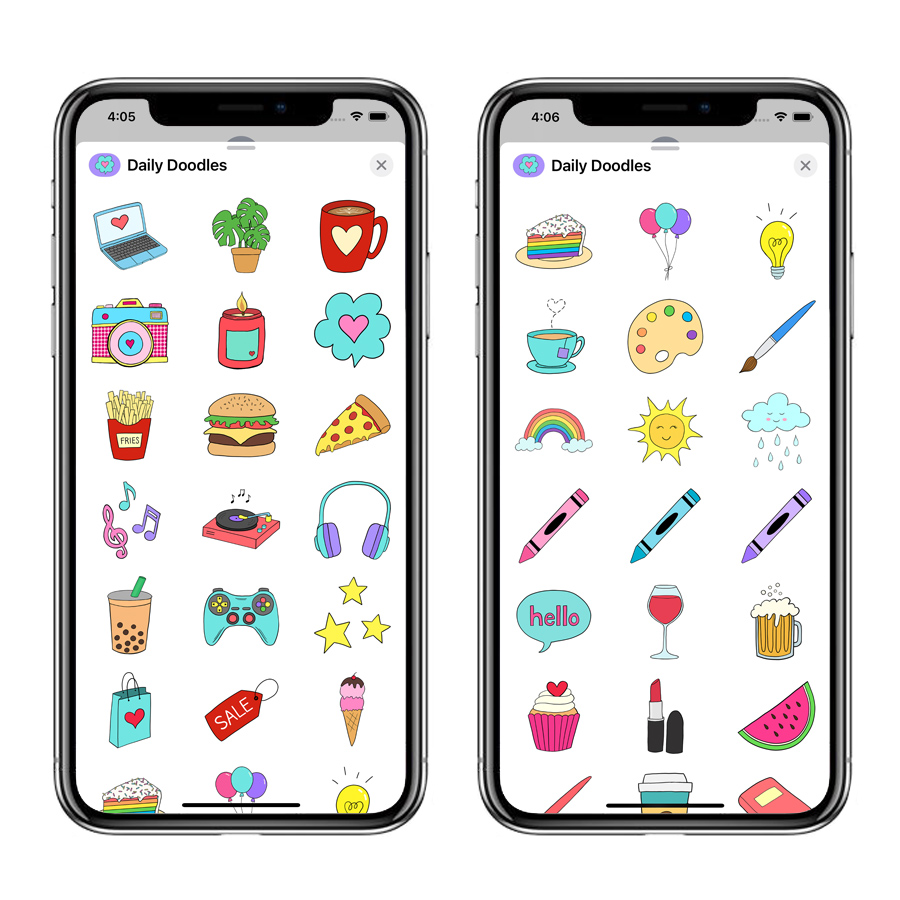
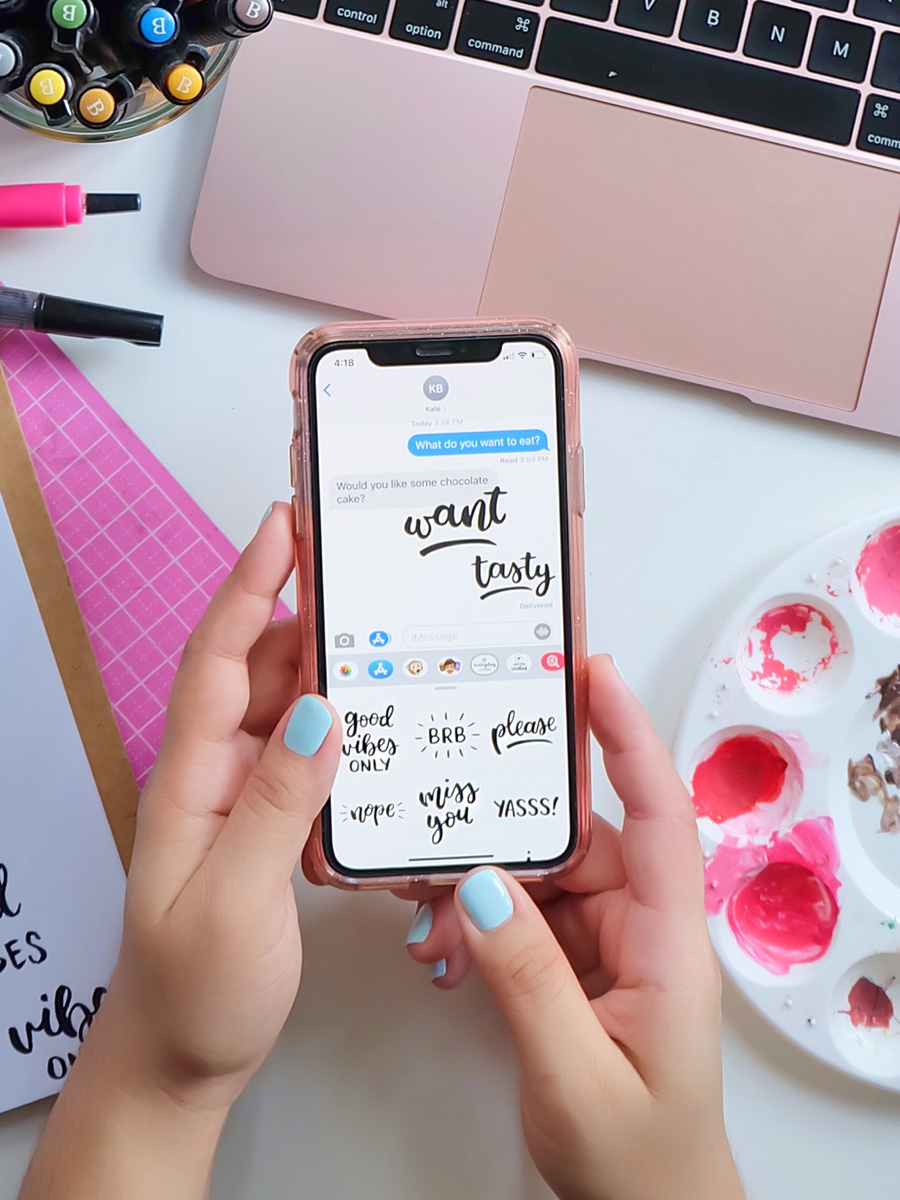 With the latest Everyday Letters update, expressions like good vibes, stay safe, so good, awesome, and good night, can now be used to liven up your iMessage conversations. Available on the App Store for all iOS 10 users and above.
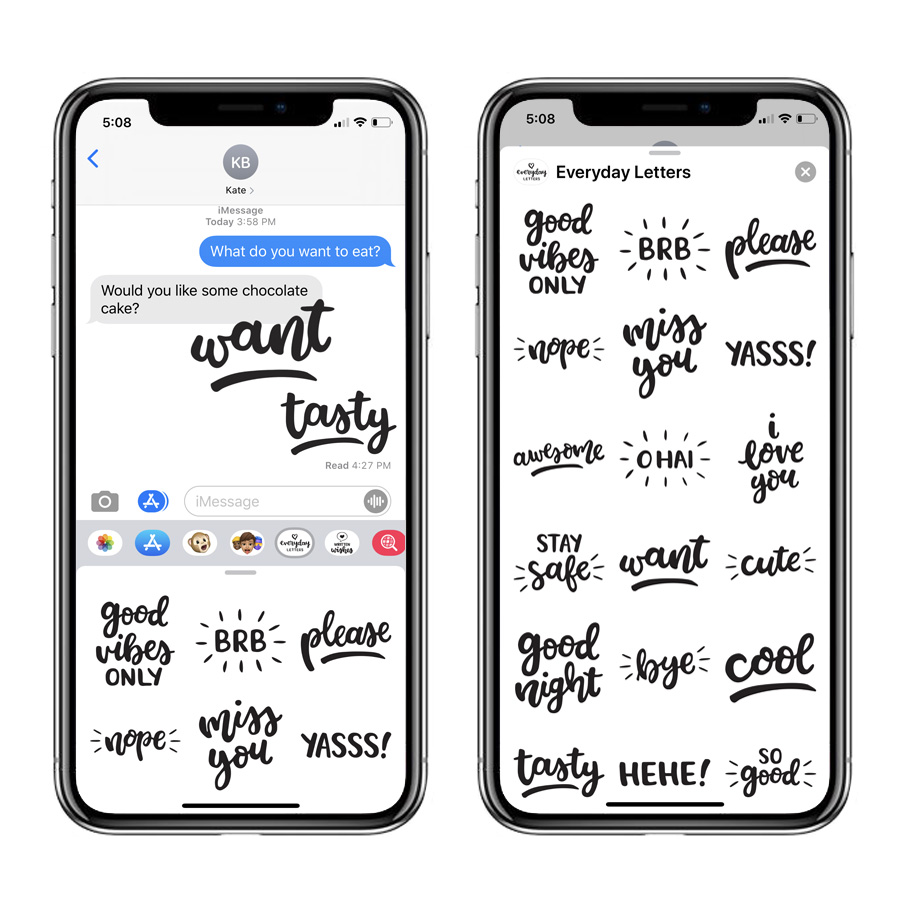 If you haven’t downloaded Everyday Letters on your iPhone, simply click the button bellow, and start sending some fun expressions to your family and friends!


 Using foam board made it easier to cut out windows on three sides, as well as the prize compartment. We made sure to measure and cut out all the details before putting all sides together with some super glue and masking tape. With a generous coat of spray paint (red for the exterior, and silver for the interior), the main structure was done.
 For the controls, we used random objects we could find at home. We glued on a small red box to the front, then added the button made from a white medicine bottle cap and a green plastic magnet. The joystick was made from a small red Christmas ball, glued to the cap of a gray Crayola marker. We secured it to the box with a square foam board piece, spray painted black. We then constructed the claw using foam board and string, spray-painted silver, then attached it to the roof of the claw machine.